DIY Indoor Potting Mix Recipe
There is nothing more frustrating than bringing home a healthy plant, putting it in a fresh pot of soil, and watching it slowly die. For years, I blamed my “black thumb.” It turned out the real culprit was the bag of “all-purpose” potting soil I bought on sale. Most commercial mixes are too dense for indoor plants, acting like a wet blanket that smothers roots. Once I switched to mixing my own chunky soil, the difference was night and day.
Now I make my own. It sounds fancy, but honestly, it’s just mixing a few ingredients in a bucket. The first time I did it, I felt like I was playing in a sandbox, which is basically what it is. The difference in my plants was obvious within a few weeks. Their roots were happier, the soil dried out at a reasonable pace, and I stopped dealing with that weird swampy smell that sometimes comes from overwatered store-bought mixes.
I’m going to walk you through what I use and why. This isn’t some scientific formula. It’s what works in my apartment with my watering habits (which are inconsistent at best). If you tend to overwater or your place doesn’t get much airflow, this chunky mix might save you from root rot like it saved me.
Ingredients for a chunky mix
Section titled “Ingredients for a chunky mix”When I say chunky, I mean it. You want to be able to see distinct pieces in your mix, not just uniform brown dirt. This gives the roots air pockets to breathe and lets water drain through instead of sitting around causing problems.
Here’s what I use: peat moss or coco coir as the base, perlite for drainage, orchid bark for structure, and worm castings for nutrients. Sometimes I throw in a handful of horticultural charcoal if I have it around, but that’s optional.
The ratios don’t have to be exact. I do roughly 40 percent peat or coir, 30 percent perlite, 20 percent orchid bark, and 10 percent worm castings. I measure this with an old yogurt container, not a scale, so don’t stress about precision.
Peat moss is what most people use as a base. It holds moisture but also has some air in it. The downside is that peat bogs are being destroyed to harvest it, which makes me uncomfortable. I’ve mostly switched to coco coir, which is made from coconut husks and works just as well. The University of Florida’s IFAS Extension notes that coco coir has become a popular peat alternative because it’s renewable and has similar water retention properties. It comes in compressed bricks that you have to rehydrate, which is kind of fun in a weird way. You just soak it in water and it expands like a sponge.
Perlite is those little white chunks that look like styrofoam but aren’t. They’re actually volcanic glass that’s been heated until it pops. Perlite keeps the mix from compacting and creates air spaces. I buy it in big bags from the garden center because the small bags at the grocery store are absurdly overpriced.
Orchid bark is just what it sounds like. It’s chunks of bark, usually from fir trees, sold for orchid growers. I’ll get into why I use it in a bit, but basically it keeps things open and airy.
Worm castings are worm poop, which sounds gross but is incredible for plants. It’s a slow-release fertilizer that also improves soil structure. I use it in small amounts because a little goes a long way.
I mix everything in a big plastic storage bin. You can also use a bucket or even spread out a tarp on the floor if you don’t mind making a mess. I pour in all the ingredients, put on some music, and just mix it with my hands or a small trowel. It takes maybe five minutes. Then I store the extra in the same bin with the lid on. It keeps for months.
Perlite vs. Vermiculite
Section titled “Perlite vs. Vermiculite”This confused me for the longest time because they look sort of similar in the bag, and garden centers often stock them right next to each other. They are not the same thing, and using the wrong one can mess up your mix.
Perlite is for drainage. It doesn’t hold water. When you water your plant, the water runs through the perlite and drains out. This is what you want for most houseplants, especially if you’re like me and sometimes forget a plant is sitting in its saucer for a day.
Vermiculite is for water retention. It’s a mineral that expands when heated, kind of like perlite, but it acts like a sponge. It soaks up water and holds onto it. This can be useful for plants that like to stay moist, like ferns, but for most of my plants (pothos, monsteras, philodendrons), I don’t want this. Too much moisture is how you get root rot.
I learned this the hard way when I accidentally bought vermiculite instead of perlite once. The bags looked similar, and I wasn’t paying attention. I mixed up a big batch and used it for a few plants. Within two weeks, I had issues. The soil wasn’t drying out between waterings, and I could tell the roots weren’t happy. I had to repot everything and start over with the right stuff.
If you’re not sure which one you have, here’s a test: squeeze it. Perlite is hard and crunchy. Vermiculite is soft and flaky. Perlite is bright white. Vermiculite is more brownish or gold.
For a chunky, well-draining mix, you want perlite. Save the vermiculite for seed starting or for moisture-loving plants if you ever grow those. According to research from North Carolina State University’s extension service, perlite is recommended for improving aeration in container mixes, while vermiculite is better suited for water retention in specialized growing situations.
 Above: A closer look at the technique.
Why use orchid bark?
Section titled “Why use orchid bark?”I didn’t start using orchid bark until about a year ago. I saw it mentioned in a blog post by someone growing aroids, and I thought it seemed unnecessary. Wasn’t perlite enough for drainage?
Turns out, orchid bark does something different. It’s not just about drainage. It’s about creating structure. The chunks of bark are bigger than perlite, so they make larger air pockets. For plants like monsteras, philodendrons, and pothos, which are aroids (plants that grow on trees in the wild), this mimics their natural environment. Their roots like to grab onto things and have air around them.
I bought a small bag of orchid bark just to try it out. The difference was noticeable, especially with my monstera. The new roots that grew after I repotted it into a bark mix were thicker and healthier looking. The plant seemed to dry out faster, which meant I could water it more often without worrying about overwatering. More frequent watering actually helped it grow better because it was getting a steady supply of nutrients dissolved in the water.
Orchid bark breaks down over time. After a year or two, it starts to decompose and the chunks get smaller. This is normal. When I repot a plant, I usually refresh the mix and add new bark. Some people use bark chips meant for reptile bedding, which are cheaper, but I stick with the stuff labeled for orchids because I know it’s been treated to remove oils and resins that might harm plants.
You don’t have to use bark. If you’re growing something like a snake plant or a succulent, it’s probably overkill. But for aroids or any plant that likes things on the chunkier side, I think it’s worth it. A small bag costs maybe eight or ten dollars and lasts me through several batches of mix.
The Missouri Botanical Garden mentions that epiphytic plants (like many aroids) benefit from coarse, well-aerated mixes that allow roots to breathe, which is exactly what bark provides.
Adding worm castings
Section titled “Adding worm castings”I was skeptical about worm castings at first. It felt like one of those trendy gardening things that people hype up for no reason. But I tried it, and I’m a convert.
Worm castings are just worm manure, produced when worms digest organic matter. What comes out the other end is this dark, crumbly stuff that’s loaded with nutrients and beneficial microbes. It doesn’t smell bad. It actually smells kind of earthy and pleasant, like the forest floor after it rains.
The benefit of worm castings is that they release nutrients slowly. Chemical fertilizers give plants a quick hit of food, which can lead to burnt roots if you use too much. Worm castings are gentle. You can’t really overdo it, though I still use them in moderation just because they’re more expensive than the other ingredients.
I add about 10 percent worm castings to my mix. For a big batch, that’s maybe one or two cups. I mix it in evenly so it’s distributed throughout. Then, when I water my plants, the castings slowly release nitrogen, phosphorus, potassium, and a bunch of trace minerals.
I’ve noticed that my plants grow faster and have darker green leaves since I started using worm castings. I also don’t fertilize as often. I used to use liquid fertilizer every two weeks during the growing season, but now I only fertilize maybe once a month or even less. The castings seem to provide a baseline level of nutrition that keeps things going.
You can buy worm castings at most garden centers, or you can make your own if you have a worm bin. I don’t have one because my apartment is small and I’m not sure my partner would tolerate a box of worms in the kitchen. But I know people who swear by it.
Research from Cornell University’s waste management institute shows that vermicompost (worm castings) improves soil structure, supports beneficial microbial activity, and provides a balanced nutrient profile for plants, which aligns with what I’ve experienced.
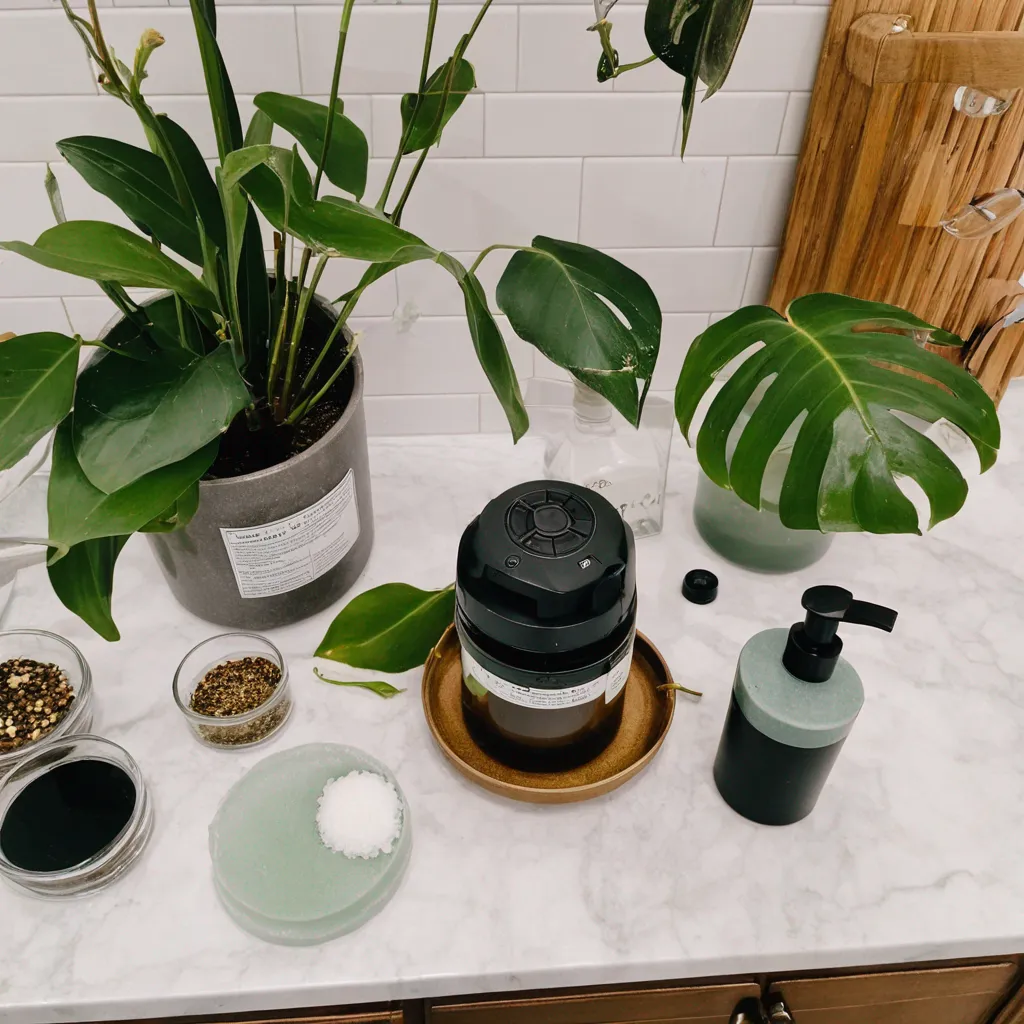
 Above: What you will need.
Mixing your own soil
Section titled “Mixing your own soil”The actual mixing process is simple, but there are a few things I’ve learned that make it easier.
First, do it outside or in a space you don’t mind getting dirty. The perlite especially creates a lot of dust, and you don’t want to breathe that in. I wear a dust mask when I’m mixing big batches. It sounds dramatic, but perlite dust can irritate your lungs. I learned this after spending an evening coughing because I mixed a batch in my living room with the windows closed.
Second, get your ingredients ready before you start. I lay out all my bags and containers, and I have my storage bin or bucket nearby. If you’re rehydrating coco coir, do that ahead of time so it’s ready to go. A compressed brick usually needs about 30 to 40 minutes to fully expand after you add water.
I dump everything into the bin in layers. Coco coir or peat goes in first, then perlite, then bark, then worm castings. Then I just mix it with my hands. Some people use a trowel or a small shovel, but I like the hands-on approach. You can feel when it’s evenly mixed. You want to see all the ingredients distributed throughout, not clumps of one thing in one spot.
The mix should look chunky and uneven. If it looks like smooth, uniform dirt, you need more perlite and bark. When you squeeze a handful, it should clump together slightly but fall apart easily. It shouldn’t pack down into a hard ball.
I make big batches so I always have mix on hand when I need to repot something. I store it in the bin with the lid on to keep it from drying out completely. If it sits for a long time, I’ll give it a quick stir before using it to make sure nothing has settled.
One thing I’ll mention is that this mix dries out faster than store-bought soil. That’s the point, but it means you have to water more often. For me, that’s fine. I’d rather water every five or six days than deal with soggy soil. But if you travel a lot or forget to water, you might want to adjust the ratios. Add a bit more coco coir and a bit less perlite. It’ll hold moisture longer.
You can also tweak the mix for specific plants. For succulents, I go heavier on the perlite and lighter on the coco coir, maybe 50 percent perlite or even more. For ferns, I skip the bark and use more coco coir. The base recipe I gave you works for most of my plants, but there’s no law that says you can’t experiment.
Making your own mix is one of those things that feels intimidating until you do it once. Then you realize it’s just mixing stuff in a bucket, and you wonder why you didn’t start sooner. My plants are healthier, I spend less money in the long run, and I don’t have to lug heavy bags of soil home from the store. If you’ve been thinking about trying it, just get the ingredients and go for it. Worst case, you learn what doesn’t work. Best case, your plants thank you by actually growing.
References
Section titled “References”University of Florida IFAS Extension. “Coir as an Alternative to Peat in Media.” https://edis.ifas.ufl.edu
North Carolina State University Extension. “Components of Potting Media.” https://content.ces.ncsu.edu
Missouri Botanical Garden. “Epiphytic Plant Care.” http://www.missouribotanicalgarden.org
Cornell University Waste Management Institute. “The Science and Engineering of Composting.” http://compost.css.cornell.edu