Air Plant Care: Soak or Mist?
My first air plant came in a tiny glass globe from a craft fair. The seller told me to “just mist it every few days,” so I did. Two months later, that little Tillandsia ionantha was brown, crispy, and visibly dead. I had no idea what went wrong because I followed the instructions perfectly.
Turns out, misting alone is rarely enough. Most air plants need a good soak to survive in our dry homes, and the internet is full of conflicting advice about the best way to water them. After killing that first one and successfully keeping six others alive since then, I can tell you the answer isn’t simple. It depends on your home’s humidity, the type of air plant you have, and how much effort you want to put in.
Here’s what actually works.
The soaking method explained
Section titled “The soaking method explained”Soaking is the method I use now, and it’s what most air plant growers recommend. The idea is simple: you submerge the entire plant in room temperature water for 20 to 30 minutes, usually once a week. This gives the plant time to absorb water through its leaves, which is how air plants drink since they don’t have a traditional root system.
I do mine every Tuesday night. I fill a large mixing bowl with tap water (I let it sit out for a few hours first so the chlorine can evaporate, though some people say this doesn’t matter much), and I drop all my air plants in. Then I set a timer on my phone because I’ve definitely forgotten about them before and left them soaking overnight. That’s not ideal, but it didn’t kill them.
The soaking method works better than misting for most people because misting only wets the surface of the leaves. According to research from the Marie Selby Botanical Gardens, which has one of the largest collections of air plants in the world, Tillandsia species absorb water primarily through specialized cells called trichomes that cover their leaves. These cells need sustained contact with water to function properly, and a quick mist doesn’t provide enough time for absorption.
If you live somewhere humid, like Florida or a coastal area, you might get away with misting a few times a week. But if you’re in a dry climate or you run air conditioning or heat most of the year, misting won’t cut it. I’m in an apartment in the Midwest where the air gets really dry in winter, and my plants were basically dying of thirst until I switched to soaking.
Some air plants are thirstier than others. The ones with thin, grass-like leaves (like Tillandsia juncea) usually need more frequent watering than the ones with thick, silvery leaves (like Tillandsia xerographica). The silvery coating is actually those trichomes I mentioned, and more trichomes usually means the plant is adapted to drier conditions. It can store water better. My xerographica gets soaked every 10 days or so, while my ionantha goes in every week.
You’ll know if your plant needs more water because the leaves will start to curl inward or look wrinkled. When they’re properly hydrated, the leaves should feel firm and look smooth.
Drying them upside down to stop rot
Section titled “Drying them upside down to stop rot”This is the part that saved my air plants. After you soak them, you have to dry them properly, or they will rot. Air plants are epiphytes, which means in nature they grow attached to trees or rocks where air circulates all around them. They’re not designed to sit in water or stay wet for long periods.
After I take my plants out of their soak, I gently shake off the excess water and then place them upside down on a kitchen towel. This lets the water drain out of the center of the plant, which is where rot usually starts. If water pools in the base, especially between the leaves, it creates the perfect environment for bacteria and fungi.
I leave them upside down for at least four hours, sometimes longer. In the summer when it’s warm, they dry faster. In winter, I sometimes leave them overnight because the air is cooler and they take longer to dry completely. The key is that they need to be fully dry within 12 hours of soaking. If they’re still damp the next day, you need better air circulation.
A fan helps. I don’t mean you need to blast them with air, but even a ceiling fan or a gentle breeze from an open window makes a difference. I’ve also put them near (not on) a heating vent in winter, which speeds up drying time.
The base of the plant should feel dry to the touch before you put it back in its display. I lost a beautiful Tillandsia capitata because I put it back in a glass terrarium while it was still slightly damp, and it rotted from the inside out within a week. It was frustrating because the outer leaves still looked fine, but when I pulled on it, the whole center came apart.
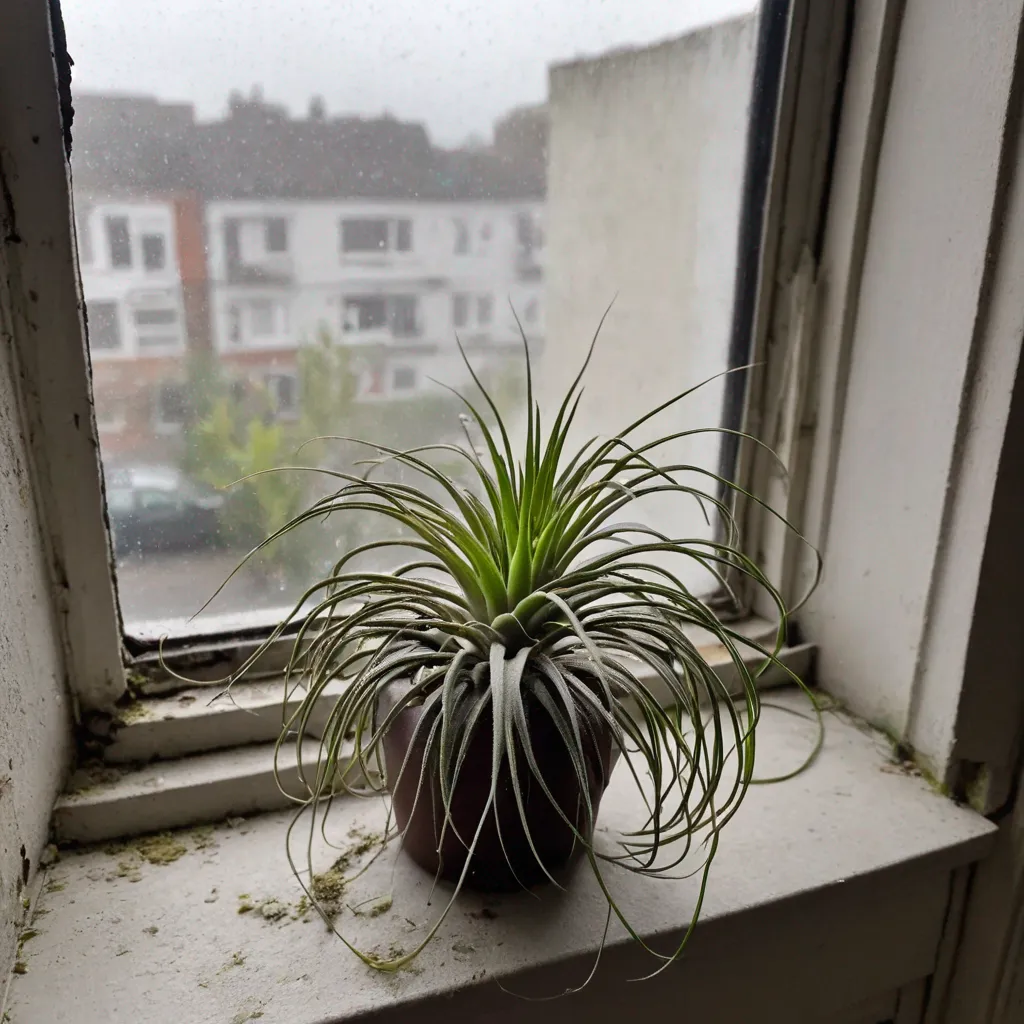
 Above: A closer look at this plant.
Display ideas for Tillandsia
Section titled “Display ideas for Tillandsia”This is one of the reasons I love air plants. You can put them almost anywhere because they don’t need soil. I have one sitting in a little ceramic dish on my bookshelf, one hanging in a macrame holder near my kitchen window, and two attached to pieces of driftwood I found at a lake.
The only rule is that they need decent air flow and can’t be in a completely enclosed container. Those trendy glass globes that are fully sealed? They look nice, but they’re a death trap for air plants. I learned this the hard way with my first one. If you want to use glass, make sure it’s open at the top so air can move through.
I’ve attached some of mine to driftwood using fishing line. You just tie the plant loosely to the wood in a spot where it can sit naturally. Over time, the plant might produce roots (they’re mostly for anchoring, not for drinking water), and it will attach itself. This setup looks really natural and makes watering easy because I can just dunk the whole piece of wood in water.
Wire holders work well too. You can find them online or make your own by bending craft wire into a simple stand. Just make sure the wire isn’t too tight against the leaves because that can damage them.
For smaller air plants, sea urchin shells are perfect. The plant sits right in the opening, and the shape naturally allows for air flow. I found a few of these at a beach gift shop, and they’re one of my favorite displays.
Avoid anything that holds water around the base. Decorative sand might look nice, but if the sand stays damp, your plant will rot. Same with moss. You can use it for decoration, but make sure the air plant isn’t sitting directly on wet moss for extended periods.
Fertilizing air plants
Section titled “Fertilizing air plants”I didn’t fertilize my air plants for the first year I had them. They stayed alive, but they didn’t really grow or do much. Then I started using a diluted fertilizer once a month, and I noticed they perked up. The leaves looked fuller, and a couple of them even bloomed.
Air plants don’t need a lot of fertilizer, but they do benefit from it, especially if you want them to bloom or produce pups (baby plants). I use a bromeliad fertilizer diluted to one quarter of the recommended strength. You can buy fertilizer specifically made for air plants, but honestly, any bromeliad or orchid fertilizer works fine because air plants are in the bromeliad family.
I add the fertilizer to their soaking water about once a month. Some people do it every other week, but I’ve found once a month is enough. The important thing is not to over-fertilize because too much can burn the leaves. The University of Florida IFAS Extension recommends using a balanced fertilizer with equal parts nitrogen, phosphorus, and potassium, diluted to about 25 percent strength.
In winter, I fertilize less often, maybe every six to eight weeks, because the plants aren’t growing as actively. During spring and summer when there’s more light and warmth, I go back to monthly feeding.
You can also mist with fertilizer water if you prefer that method, but I find it easier to just add it to the soaking water so I know the plant is getting a good dose.
 Above: Getting started with care.
What to do when it blooms
Section titled “What to do when it blooms”The first time one of my air plants bloomed, I was excited. Then I read online that air plants die after they bloom, and I panicked. But it’s not as dramatic as it sounds.
Yes, air plants are monocarpic, which means they bloom once and then the original plant slowly dies. But before it dies, it usually produces offsets, which are baby plants called pups. These grow from the base of the mother plant, and once they’re about one third the size of the parent, you can separate them and grow them as new plants. Or you can leave them attached and eventually you’ll have a clump of air plants all growing together.
The bloom itself is pretty cool. Depending on the species, you’ll see a spike emerge from the center with colorful bracts (modified leaves) and small flowers. My Tillandsia ionantha had bright pink bracts with tiny purple flowers. The whole bloom lasted about two weeks.
After the flowers fade, the plant will keep producing pups for several months. During this time, keep caring for it normally with soaking and fertilizing. The mother plant will gradually turn brown and dry up, but the pups will keep growing. Once the mother plant is completely dead, you can remove it, but there’s no rush.
I currently have a clump of three ionanthas that all came from one parent plant, and watching them grow has been more rewarding than I expected. It feels like I’m actually propagating something successfully, which is not always the case with my other houseplants.
If your air plant blooms and doesn’t produce pups, it does happen occasionally, but it’s rare. Most healthy air plants will give you at least one or two offsets. Making sure the plant is well-fed and getting enough light increases the chances of pup production.
The whole cycle from bloom to pups to mature plants takes about a year or more, so don’t expect quick results. But it’s worth the wait.
References
Section titled “References”Marie Selby Botanical Gardens. “Tillandsia Care.” Sarasota, Florida.
University of Florida IFAS Extension. “Bromeliads at a Glance.” Environmental Horticulture Department.