Watering 101: The Finger Test
Overwatering is the number one killer of houseplants, and it usually happens because we love them too much. We want to do something to help them grow, so we water. But plants need oxygen at their roots just as much as they need water. The most important tool you have isn’t a moisture meter or a watering app—it’s your own finger, and learning how to use it correctly is the difference between a thriving jungle and a pot of rot. I drowned my first Pothos on a weekly schedule before I learned this simple truth.
That’s when I learned the finger test, and honestly, it changed everything. It sounds almost too simple to be useful, but this one habit has saved more of my plants than any fancy gadget or watering app ever could.
Signs of overwatering vs. thirst
Section titled “Signs of overwatering vs. thirst”Here’s the tricky part about watering: both overwatering and underwatering can make your plant look terrible, but in slightly different ways. When I first started out, I’d see a sad, droopy leaf and immediately grab my watering can. Sometimes that helped. Sometimes it made things worse.
If your plant is thirsty, the leaves usually get droopy but they still feel relatively firm or papery. They might curl inward a bit, like they’re trying to conserve moisture. The soil pulls away from the edges of the pot. When you pick up the pot, it feels noticeably lighter than usual. I have a snake plant that I definitely neglect sometimes, and when it’s thirsty, the leaves start to wrinkle lengthwise. It’s pretty dramatic.
Overwatering looks different. The leaves get soft and mushy, almost like they’re rotting from the inside. You might see yellow leaves, especially on the lower parts of the plant. The real giveaway is the soil. It stays wet for days and days, and if you’re really unlucky, you’ll start to smell something funky. That’s root rot setting in. I had a fiddle leaf fig that developed dark spots with yellow halos around them, and when I finally pulled it from the pot, half the roots were black mush. That smell is something I’ll never forget.
According to research from the University of Vermont Extension, root rot caused by overwatering is one of the most common reasons houseplants die. The roots literally suffocate because they can’t get oxygen when they’re sitting in waterlogged soil.
The confusing part is that an overwatered plant can also look wilted. The damaged roots can’t take up water properly anymore, so even though the soil is soaking wet, the leaves are drooping because they’re not getting what they need. I’ve made this mistake more than once, seeing a wilted plant in wet soil and thinking “maybe it needs MORE water?” No. That’s how you finish off a plant that might have still been saveable.
The Finger Test explained
Section titled “The Finger Test explained”Alright, here’s the actual technique that I use every single time before I water anything.
Stick your finger into the soil up to about your second knuckle. That’s roughly two inches deep for most people. What you’re feeling for is moisture. Not just surface dampness, but actual wetness down where the roots are hanging out.
If the soil feels damp or wet at that depth, don’t water. It doesn’t matter if the top looks dry and crusty. What matters is what’s happening down below. If it feels just barely moist, like it’s on its way to drying out but not quite there yet, wait another day or two and check again.
If it feels dry, go ahead and water thoroughly until water runs out the drainage holes. Then dump out whatever collects in the saucer after about 15 minutes.
I know this sounds overly simple, but it works because you’re actually checking the conditions instead of guessing. Different plants do have different preferences, though. My pothos and philodendrons, I let them dry out almost completely between waterings. The soil should feel dry at finger depth. My calatheas and ferns, on the other hand, I water when the soil still feels slightly moist but not wet. They hate drying out completely.
For really deep pots (like anything over 10 inches), I sometimes use a chopstick or wooden skewer instead of my finger. I poke it down to the bottom, leave it for a minute, then pull it out. If it comes out with damp soil clinging to it, I wait. If it comes out mostly clean with just dry bits, I water. This is basically the same technique you’d use to test if a cake is done baking.
The finger test also helps you learn your plant’s patterns. After a few weeks of checking, you’ll start to notice that your rubber plant needs water roughly every 10 days in summer but only every 3 weeks in winter. You’ll notice that the terracotta pot dries out way faster than the ceramic one. You build this intuitive sense of what’s normal for each plant.
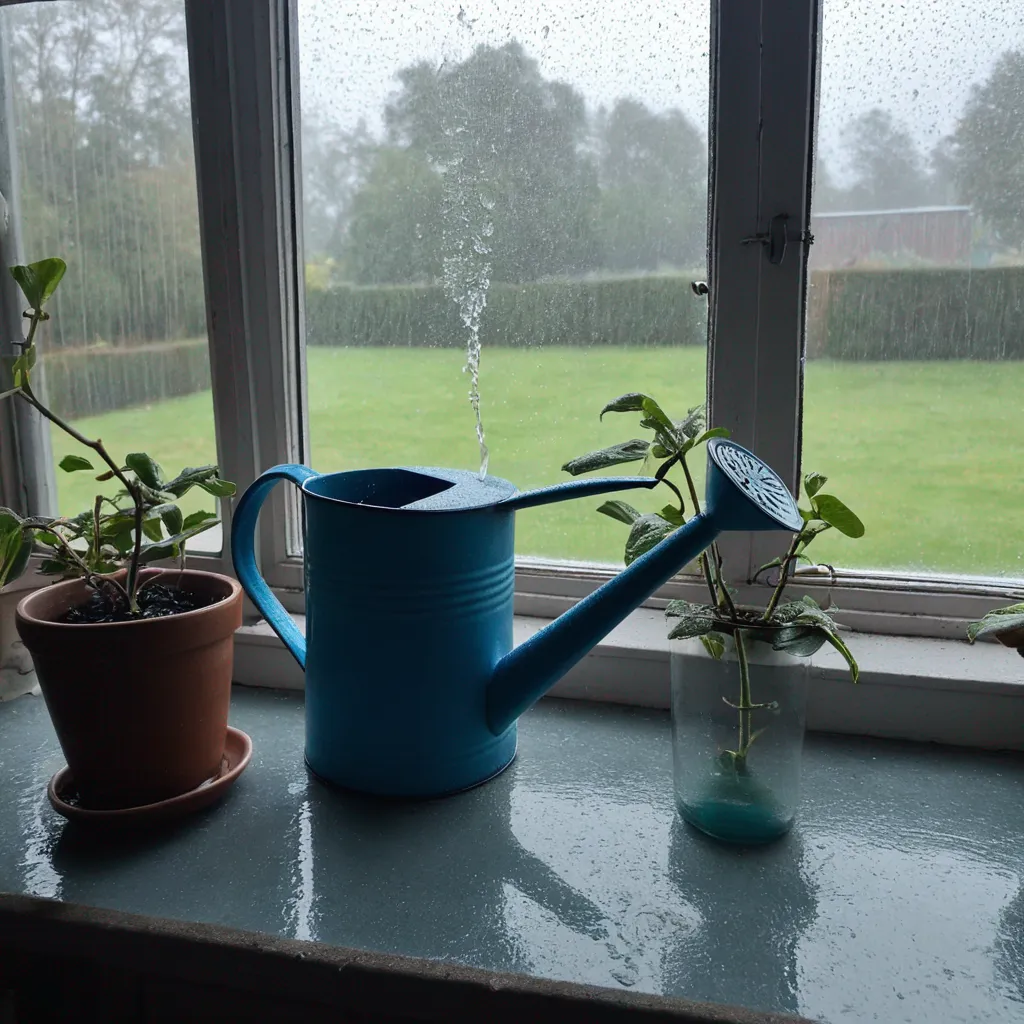
 Above: A closer look at the technique.
Why schedules kill plants
Section titled “Why schedules kill plants”I used to have a reminder on my phone: “Water plants - Sunday 9am.” I felt so organized. I was wrong.
The problem with watering schedules is that your plant’s needs change constantly. In summer, when it’s hot and sunny, my monsteras drink like they’re training for a marathon. They might need water every 5 days. In winter, when it’s cold and dark and they’re barely growing, those same plants can go 3 weeks without a drink.
If I stuck to my Sunday schedule year-round, I’d drown them in winter and let them shrivel in summer. Neither option is great.
Humidity matters too. I live in a pretty dry apartment, especially when the heat kicks on in winter. My plants dry out faster here than they would in a naturally humid environment. My friend lives in Portland where it’s basically always moist, and she waters way less frequently than I do even though we own some of the same plants.
Pot size and material make a difference. Small pots dry out fast. Terracotta breathes and wicks moisture away. Plastic and ceramic hold water longer. I have two identical pothos cuttings, one in terracotta and one in a ceramic pot. The terracotta one needs water almost twice as often.
Then there’s the growth factor. A plant that’s actively growing and putting out new leaves is using more water than one that’s dormant. My plants basically take a nap from November through February, and their water needs drop off a cliff during that time.
According to horticultural research from Ohio State University Extension, environmental factors like temperature, light, and humidity have a much bigger impact on water needs than any predetermined schedule could account for. They recommend the “feel the soil” method over any calendar-based approach.
I still use my phone reminder, but now it just says “Check plants.” Then I go around with my finger and actually assess who needs what. It takes maybe 10 minutes once a week, and it’s way more effective than blindly watering everything.
Tap water vs. Rainwater
Section titled “Tap water vs. Rainwater”I’m not going to lie and say I collect rainwater for all my plants. I live in an apartment. I don’t have rain barrels. Most of my plants get tap water, and they’re fine.
That said, there are some things worth knowing about water quality. Tap water often contains chlorine and sometimes fluoride. Most plants tolerate this just fine, but some sensitive ones (I’m looking at you, calatheas and dracaenas) can develop brown leaf tips from fluoride accumulation. If you have a prayer plant with crispy edges, your tap water might be the culprit.
The easy fix is to let your tap water sit out in an open container for 24 hours before using it. The chlorine will evaporate off. Fluoride won’t, but diluting it with rainwater occasionally can help. I keep a big pitcher on my counter that I fill after watering, so it’s ready to go for next time.
Rainwater is genuinely better if you can get it. It’s naturally soft, free of chemicals, and slightly acidic, which most houseplants prefer. I have a friend who keeps a bucket on her balcony, and her ferns look incredible. When I visit my parents’ house, I definitely steal some rainwater from their garden barrel to bring home for my fussier plants.
Temperature matters too. Don’t water with ice-cold water straight from the tap. It can shock the roots. Room temperature is best. I learned this the hard way when I watered my african violet with cold water and it developed weird pale rings on the leaves. Apparently that’s a thing that happens.
Hard water (high in minerals) can cause white crusty buildup on the soil surface and pot edges. It’s not usually harmful, but it’s ugly. If you have very hard water, you might want to use distilled or filtered water for your more finicky plants. I don’t bother with this for most of mine, but I do use filtered water for my carnivorous plants because they’re incredibly picky about mineral content.
 Above: What you will need.
Using moisture meters
Section titled “Using moisture meters”I bought a moisture meter about a year ago. It cost maybe twelve dollars. I thought it would revolutionize my plant care. It sort of helped, but honestly, the finger test is still my go-to.
Here’s what a moisture meter does well: it can reach deeper into large pots than your finger can. For my bigger floor plants in 14-inch pots, the meter is useful because I can check the moisture level at different depths. The top few inches might be bone dry while the bottom is still damp, and the meter shows me that gradient.
The probe gives you a reading on a scale, usually from dry to wet. Different meters have different scales (some are 1 to 10, others use color zones), but the principle is the same. You stick it in, wait a minute for the reading to stabilize, and check where the needle lands.
What moisture meters don’t do well: they can give false readings in very dry soil or very chunky soil mixes. If you have a lot of bark or perlite in your mix, the probe might not make good contact and will read dryer than reality. They also don’t work great in very compact soil. And cheap ones (like mine) can be inconsistent. I’ve tested the same spot twice in a row and gotten different readings.
According to a study from the University of Georgia Extension, moisture meters can be helpful tools for beginners who are learning to read their plants’ needs, but they shouldn’t replace observation and manual checking entirely. The meters can malfunction or corrode over time, especially the cheaper models.
My honest take: if you want to buy one, go for it. Use it as a supplement to the finger test, especially for large pots. But don’t rely on it exclusively. I still stick my finger in first, and if I’m unsure, I’ll use the meter as a second opinion. For most standard-sized houseplants in 6 to 8 inch pots, your finger is completely adequate and you don’t need to spend the money.
One thing the meter won’t tell you is what the soil should feel like for that specific plant. It’ll tell you the soil is moist, but it won’t tell you if your fern should be watered at that moisture level while your cactus should wait. You still have to learn your plants’ individual preferences.
The best investment isn’t a moisture meter. It’s just paying attention. Pick up your pots to feel the weight. Look at the leaves. Stick your finger in the dirt. You’ll figure it out faster than you think, and you won’t need to rely on a gadget that might stop working or give you weird readings.
I still use mine occasionally, but most of the time it sits in a drawer while I do the finger test. Old reliable wins again.
References
Section titled “References”Ohio State University Extension. “Watering Houseplants.” Ohio State University, Department of Horticulture and Crop Science.
University of Georgia Extension. “Houseplant Care: Watering.” University of Georgia College of Agricultural and Environmental Sciences.
University of Vermont Extension. “Common Houseplant Insects and Related Pests.” University of Vermont Department of Plant and Soil Science, which discusses root rot as a primary cause of houseplant death.